安装docker Toolbox
win7系统需要安装docker Toolbox来使用。docker Toolbox国内镜像下载地址:http://mirrors.aliyun.com/docker-toolbox/windows/docker-toolbox/
安装好后桌面会多出三个图标,分别是:Oracle VM VirtualBox,Kitematic (Alpha),Docker Quickstart Terminal。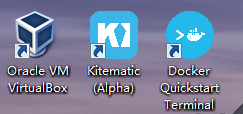
双击Docker Quickstart Terminal图标来启动 Docker Toolbox 终端。稍等片刻后,会显示: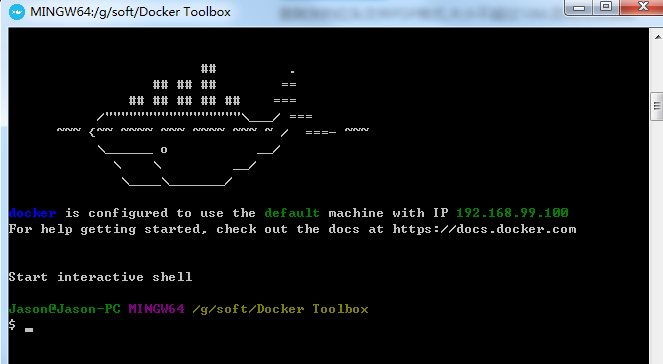
代表docker环境已经安装成功。宿主主机IP为:192.168.99.100
运行hello world
在终端中输入命令:
docker run hello-world
显示结果如下:
$ docker run hello-world
 Unable to find image 'hello-world:latest' locally
 Pulling repository hello-world
 91c95931e552: Download complete
 a8219747be10: Download complete
 Status: Downloaded newer image for hello-world:latest
 Hello from Docker.
 This message shows that your installation appears to be working correctly.

 To generate this message, Docker took the following steps:
  1. The Docker Engine CLI client contacted the Docker Engine daemon.
  2. The Docker Engine daemon pulled the "hello-world" image from the Docker Hub.
     (Assuming it was not already locally available.)
  3. The Docker Engine daemon created a new container from that image which runs the
     executable that produces the output you are currently reading.
  4. The Docker Engine daemon streamed that output to the Docker Engine CLI client, which sent it
     to your terminal.

 To try something more ambitious, you can run an Ubuntu container with:
  $ docker run -it ubuntu bash

 For more examples and ideas, visit:
  https://docs.docker.com/userguide/
拉取centos7镜像
如果需要安装最新的centos镜像,请将7改为:latest
更多的centos镜像:https://hub.daocloud.io/repos/bf207788-d7de-4044-bdeb-521a998f748b
在终端输入以下命令:
docker pull daocloud.io/centos:7

设置共享文件夹
首先在G:\soft\目录下,新建一个docker文件夹用作共享文件夹,然后在docker文件夹里新建一个www文件夹,用于后面安装宝塔面板。
双击打开Oracle VM VirtualBox,找到运行的虚拟机,打开设置->共享文件夹,将默认的共享文件夹修改为G:\soft\docker,勾选自动挂载: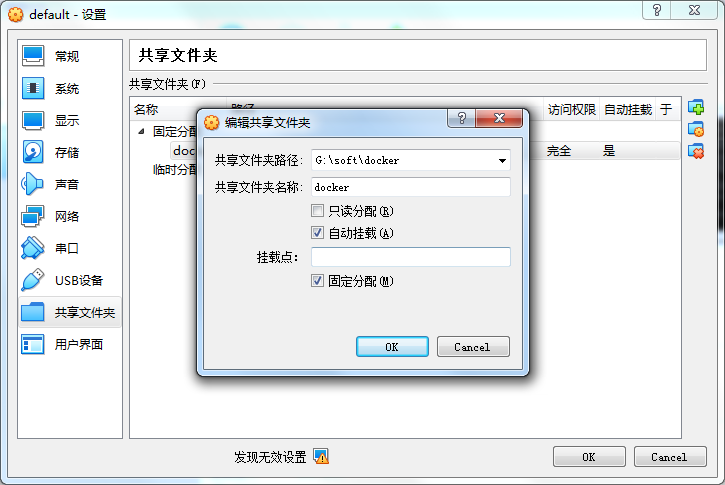
设置完成后重启虚拟机。
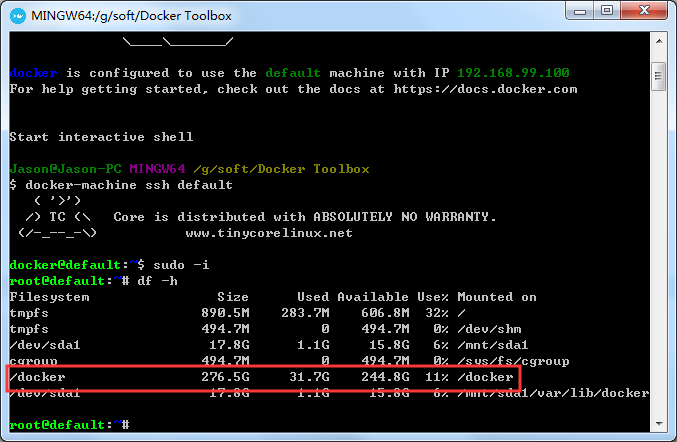
重新双击打开Docker Quickstart Terminal,通过以下命令进入虚拟机:
docker-machine ssh default
切换root用户:
sudo -i
查看磁盘挂载情况:
df -h
exit退回到Docker Quickstart Terminal
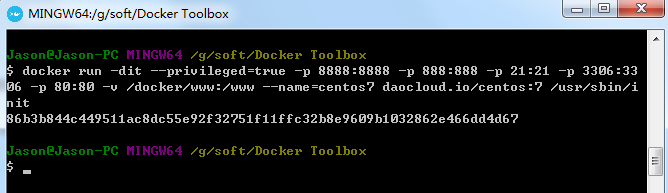
运行centos7容器
docker run -dit --privileged=true -p 8888:8888 -p 888:888 -p 21:21 -p 3306:3306 -p 80:80 -v /docker/www:/www --name=centos7 daocloud.io/centos:7 /usr/sbin/init
-p: 指定端口映射,格式为:主机(宿主)端口:容器端口
–name :为容器指定一个名称
-v: 绑定本地文件夹。/docker/www对应的是宿主机的G:/soft/docker/www目录 /www是容器的目录
如果提示G:\soft\Docker Toolbox\docker.exe: Error response from daemon: cgroups: cannot f这个错误
ind cgroup mount destination: unknown.
解决办法:
1、执行docker-machine ssh进入Linux虚拟机。
2、执行sudo mkdir /sys/fs/cgroup/systemd
3、执行sudo mount -t cgroup -o none,name=systemd cgroup /sys/fs/cgroup/systemd
4、删除容器,重新启动:
docker stop <容器id>
docker rm centos7
docker run -dit --privileged --name=centos7 daocloud.io/centos:7 /usr/sbin/init
进入centos容器交互界面
docker exec -it centos7 /bin/bash

安装wget
yum install -y wget
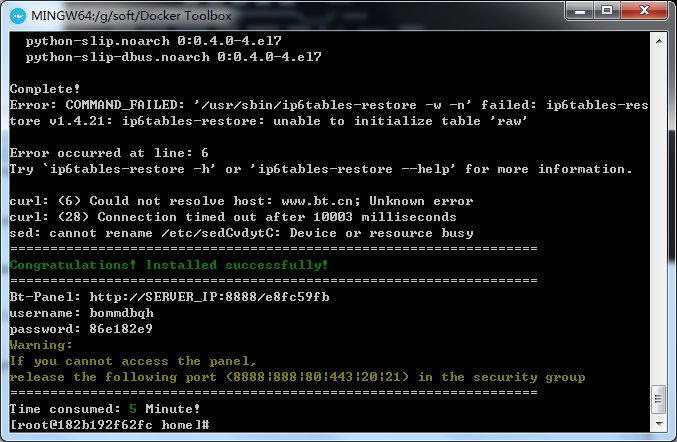
安装宝塔
yum install -y wget && wget -O install.sh http://download.bt.cn/install/install_6.0.sh && sh install.sh
构建新镜像
将安装好宝塔的容器打包为新的镜像,便于以后使用:
退出容器:
ctrl+D
执行命令:
docker commit -a "hj" -m "centos & bt" centos7 centos7bt
-a :提交的镜像作者;
-c :使用Dockerfile指令来创建镜像;
-m :提交时的说明文字;
-p :在commit时,将容器暂停。
centos7为容器名
centos7bt为新的镜像名

构建新容器
docker run -dit --privileged -p 8888:8888 -p 888:888 -p 21:21 -p 3306:3306 -p 80:80 --name=centos7bt centos7bt /usr/sbin/init
-p: 指定端口映射,格式为:主机(宿主)端口:容器端口
–name :为容器指定一个名称
访问宝塔面板
http://192.168.99.100:8888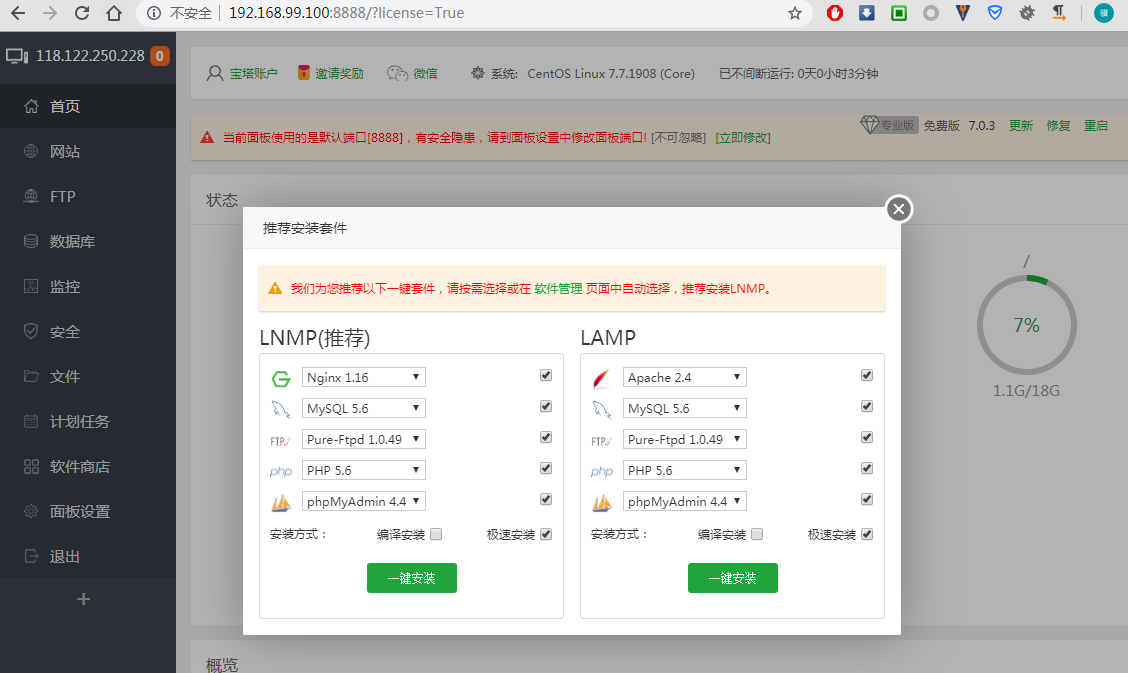
注:如果使用宝塔面板用极速安装的方式安装软件失败时,就试试用编译安装的方式。
其他常用命令
启动容器
docker start <容器ID>
更多资料
docker常用命令:http://www.884358.com/docker-cmds/
